Workspaces in NativeRest allow you to group requests by specific domain. The workspace can also be called a project.
With a NativeRest application you can create various types of workspaces:
- Local The data is stored only on your PC. You will have access to them even without the Internet.
- Cloud The data is stored on this PC and synchronized with NativeRest Cloud in the background. Such workspaces can be restored if you use NativeRest on another PC, or of you change your PC.
- Team cloud The data is stored similarly to the cloud workspace. In addition, your team members will have access to such workspace. You can manage your team in the web version of your account.
All operations on synchronization with Cloud (and Team cloud) workspaces are performed in the background and do not lead to freezing of the main thread of the NativeRest application.
Create a new workspace
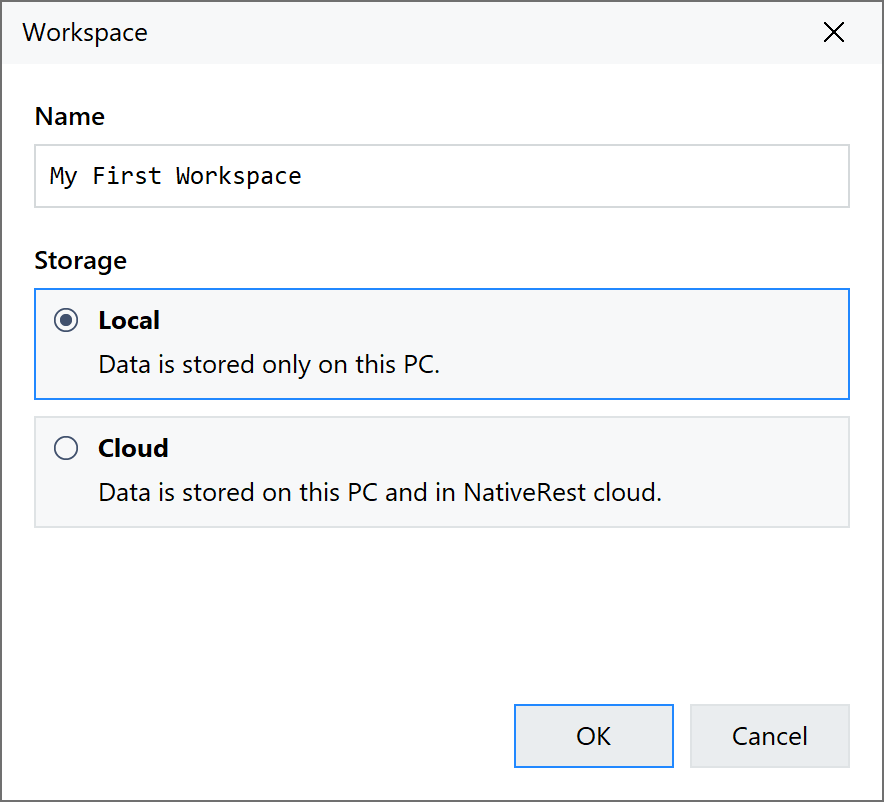
To create a new workspace, click Workspaces on the bottom bar or Ctrl + W, then click Plus button.
Enter a Name and select Storage for your workspace.

You can check the Go to new workspace box to open this workspace after creation.
You can also change the storage type after the workspace has been created. Please note that converting a local workspace to a Cloud/Team may take some time as it copies requests to the NativeRest Cloud.
View a list of workspace
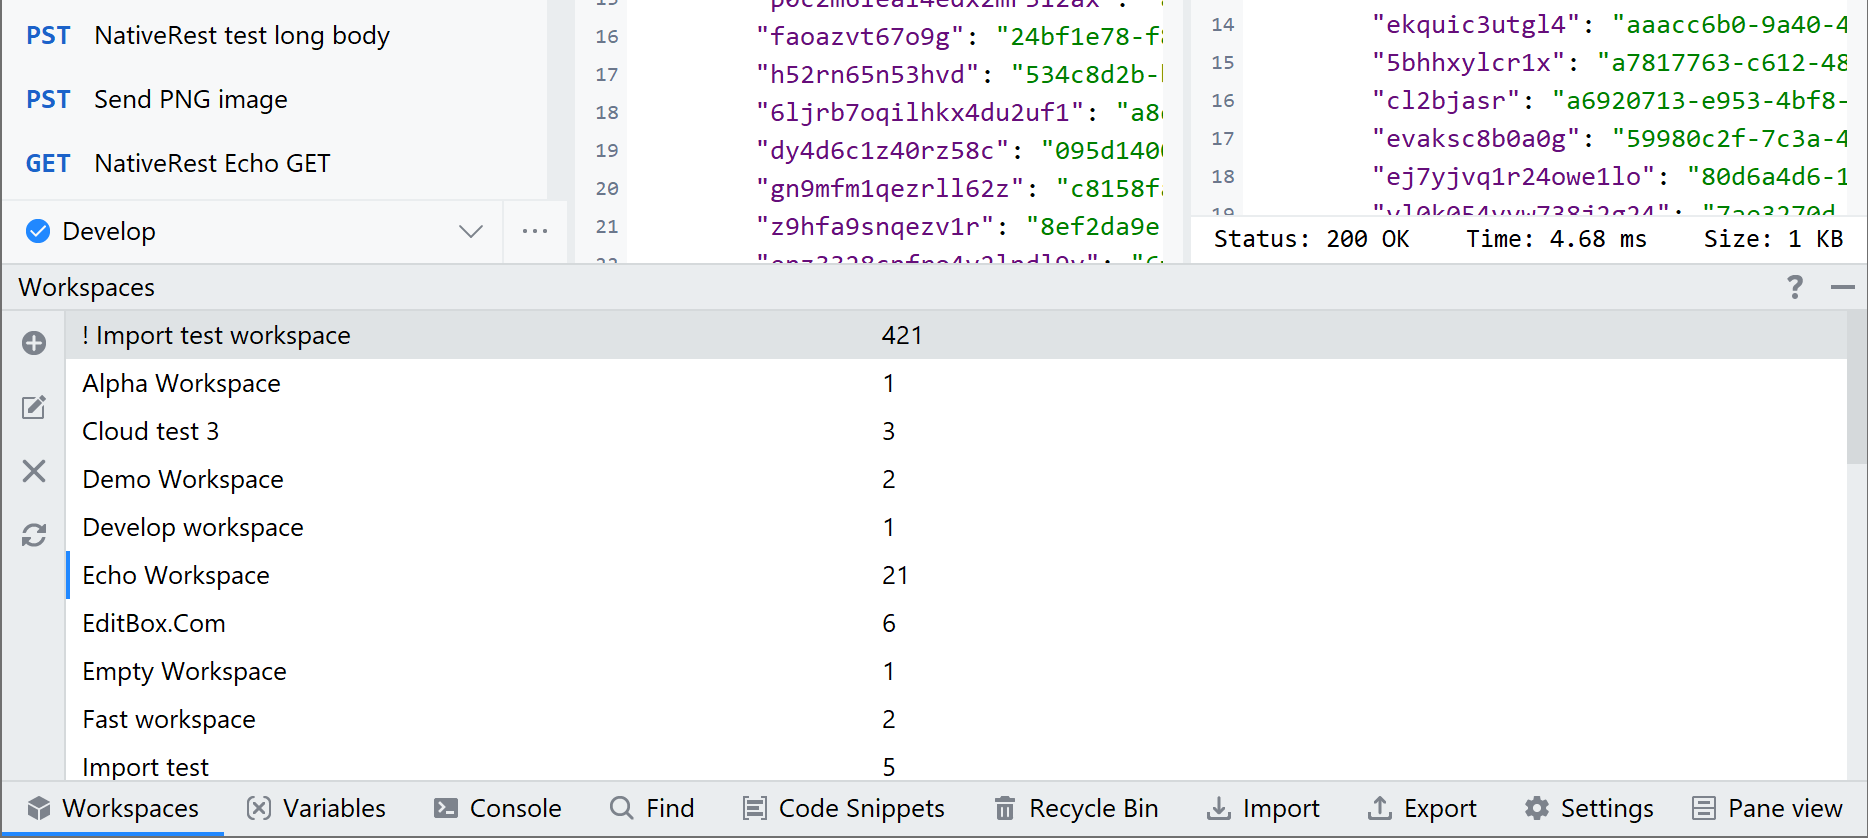
A list of all workspaces is displayed in the panel at the bottom of the window. The first column indicates the name, and the second the number of requests.

To manage workspaces, you can use the toolbar on the left or the context menu in the list. The active workspace is marked with a blue stripe on the left.